
Every recipe on FoodNearMe is tested to be anti-inflammatory, satisfying, and actually delicious — real food, real results, no shortcuts.
More about Joe →Introduction
There’s something undeniably comforting about the aroma of a freshly baked cake filling your home, inviting warmth and nostalgia.
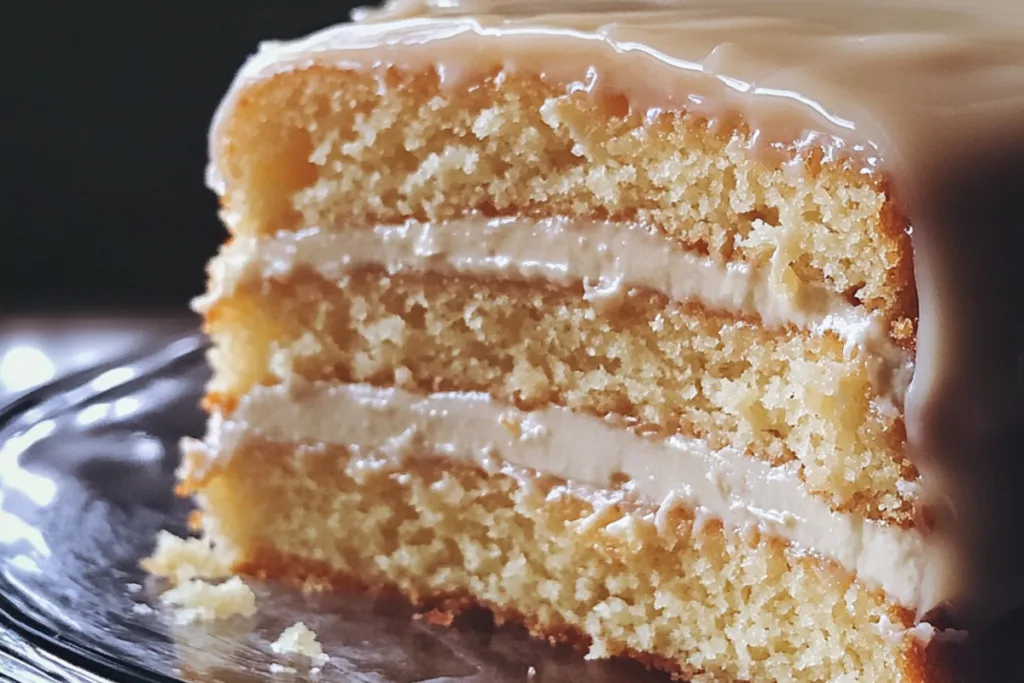
Whether it’s a quiet afternoon with a cup of tea or a bustling family gathering, a slice of Deliciously Irresistible Vanilla Buttermilk Cake with Creamy Glaze can create moments that linger long after the last bite. This cake isn’t just a dessert; it’s a cozy hug on a plate, reminding us of the simpler times spent in the kitchen with loved ones.
As you navigate through your busy days, taking a moment to bake this delightful cake could turn into a cherished memory.
Imagine your children helping you mix the batter, their laughter echoing as you share tips and sprinkle some magic into the mix. This recipe is not just an indulgence; it’s a way to bring your family together, stir up joy, and create sweet memories that you’ll cherish for years to come.
Why we love this recipe: Vanilla Buttermilk Cake
This cake is simply easy to make: The batter comes together swiftly, allowing you to get back to what truly matters—spending time with your family.
Moist texture: Each slice of Vanilla Buttermilk Cake is tender and rich, melting in your mouth with every bite. Deliciously creamy glaze: Topping the cake with cream cheese glaze elevates it to a new level of tastiness. Versatile flavor: Whether enjoyed plain or embellished with fruit, this cake is a wonderful treat for any occasion.
Easy and Budget-Friendly Vanilla Buttermilk Cake
Making this Vanilla Buttermilk Cake is a fantastic way to enjoy deliciousness without breaking the bank.
Affordable ingredients: You likely already have these staple items in your pantry, making it a budget-friendly choice. Quick prep time: It only takes a few minutes to whip up the batter, letting you fit baking into your busy schedule. Family favorite: This simple cake is sure to become a beloved treat in your household, perfect for any celebration or casual dessert on a Tuesday night.

Step-by-Step Cooking Instructions
Now that you’ve got all the ingredients and tools ready, it’s time to turn simple components into a delectable Vanilla Buttermilk Cake. Follow these steps for a moist and flavorful cake topped with a creamy glaze. Each step is crafted to ensure your cake comes out perfectly baked, giving you that irresistible flavor and texture you desire.
Detailed Directions and Instructions
Step 1: Preheat the Oven
Begin by preheating your oven to 350°F (175°C). This step is crucial as a properly heated oven ensures an even baking environment, allowing your Vanilla Buttermilk Cake to rise beautifully. Take a moment to enjoy the anticipation of the delicious aroma that will soon fill your kitchen!
Step 2: Prepare Your Baking Pan
Grab your loaf pan and generously butter it or line it with parchment paper. This will help the cake slip right out once it’s baked, avoiding any sticky situations. A well-prepared pan is essential for the success of your Vanilla Buttermilk Cake, so don’t skip this step!
Step 3: Mix Dry Ingredients
In a medium bowl, whisk together the flour, baking powder, and salt. This step is important because it ensures that the leavening agents are evenly distributed, providing that lovely rise to your cake. Take a moment to admire the simple beauty of these ingredients coming together.
Step 4: Cream the Butter and Sugar
In a large mixing bowl, beat the softened butter and sugar until they are light and fluffy. This process introduces air into the mixture, which helps create a tender crumb in your Vanilla Buttermilk Cake. The creamy texture combined with the sweet scent will invigorate your senses!
Step 5: Add Eggs and Vanilla
Add in the eggs one at a time, beating well after each addition. Incorporate the vanilla extract during this step, allowing its rich flavor to blend seamlessly into the batter. You will notice the mixture taking on a beautiful color and texture, hinting at the delicious cake to come.
Step 6: Combine Wet and Dry Ingredients
Gradually add the dry mixture into the wet ingredients, alternating with the buttermilk. Start and end with the dry ingredients to maintain a balanced mixture. Stir gently until just combined—overmixing can lead to a dense cake, and we want that lightness to shine through!
Step 7: Pour Batter into Pan
Carefully pour the batter into the prepared loaf pan, smoothing the top to ensure an even rise. Step back and appreciate your handiwork; a perfectly filled pan is the first impression of your soon-to-be masterpiece!
Step 8: Bake the Cake
Place the loaf pan in the preheated oven and bake for 50-60 minutes, or until a toothpick comes out clean. Remember, each oven is unique, so keep an eye on your cake. The golden-brown top will be your guide to achieving the perfect bake!
Step 9: Let it Cool
Once baked, remove the cake from the oven and let it cool in the pan for about 10 minutes. Then, turn it out onto a wire rack to cool completely. This step is crucial as it helps maintain moisture in the Vanilla Buttermilk Cake.
Step 10: Prepare the Cream Cheese Glaze
While your cake cools, whisk together cream cheese, powdered sugar, vanilla, and some milk until smooth. This luscious glaze will add a wonderful richness, perfectly complementing the flavor of your cake. The excitement of pouring the glaze over the cake is just around the corner!
Step 11: Glaze the Cake
Once the cake has cooled completely, drizzle the cream cheese glaze generously over the top. Allow it to cascade down the sides for that enticing visual effect. Indulge your senses as the aroma and presentation elevate this dessert to a showstopper!
Step 12: Slice and Serve
Slice the cake into thick, delectable pieces and serve it to delighted friends and family. You’ll see their faces light up with joy at the first bite of your Vanilla Buttermilk Cake. Enjoy the sweet victory of baking!
Notes
Ingredient Substitutions
If you find yourself short on buttermilk, you can easily make your own by adding one tablespoon of vinegar or lemon juice to a cup of milk. Let it sit for about 5 minutes, and voila! You have a perfect substitute that will maintain the cake’s tenderness.
Storage Tips
Once baked, you can store your Vanilla Buttermilk Cake in an airtight container at room temperature for up to 3 days, or in the refrigerator for a longer shelf life. Make sure to serve it at room temperature for a delightful bite every time!
Serving Suggestions
Feel free to add fresh fruit or a dollop of whipped cream on top for a more luxurious experience. The tanginess of the cream cheese glaze paired with fruit can elevate your cake to another level. Experiment with flavors that excite your palate!
Why Baking Can Be Therapeutic
Baking can offer a sense of calm and focus, transforming your kitchen into a warm haven. The act of measuring, mixing, and waiting for something delicious to emerge can be incredibly satisfying. Enjoy this journey as it not only fills your home with sweetness but also your heart with joy.
The Joy of Sharing Your Creation
Don’t keep all the deliciousness to yourself! Share your freshly baked Vanilla Buttermilk Cake with friends and family. There’s a special kind of joy that comes from bringing people together over food, sparking laughter and conversation with each slice shared.
Easy Variations for Your Cake
Feel free to add lemon zest for a bright twist or chocolate chips for a richer flavor. The beauty of the Vanilla Buttermilk Cake lies in its versatility, making it a perfect base for your favorite flavors. Why not experiment and discover new favorites?
Common Mistakes to Avoid
When baking your Vanilla Buttermilk Cake, be mindful not to overmix the ingredients to prevent a tough texture. Additionally, avoid opening the oven door too soon, as the sudden drop in temperature can affect the cake’s rise. Lastly, make sure all your ingredients are at room temperature for better emulsification and mixing. Happy baking!

Key ingredients
- All-purpose flour – 2 cups
- Sugar – 1 ½ cups
- Salt – ½ teaspoon
- Baking powder – 1 teaspoon
- Butter – 1 cup, softened
- Vanilla extract – 1 tablespoon
- Buttermilk – 1 cup
- Eggs – 4 large
- Cream cheese – 2 ounces, softened
- Powdered sugar – 1 cup
- Milk – 1 tablespoon (for glaze)
Preparation Time
- Prep Time: 15 minutes
- Cook Time: 60 minutes
- Total Time: 1 hour 15 minutes
- Yield: 10 servings
Cook techniques
Creaming Method
The creaming method is essential for achieving a light and airy texture in your Vanilla Buttermilk Cake. Begin by beating the butter and sugar together until the mixture turns pale and fluffy. This process incorporates air, which helps the cake rise during baking.
Room Temperature Ingredients
Using room temperature ingredients, especially butter and eggs, is crucial. This ensures even mixing and smooth batter, contributing to a uniform texture in your Vanilla Buttermilk Cake.
Gentle Folding
When incorporating dry and wet ingredients, fold gently to maintain the aerated batter. This technique helps avoid deflating the mixture, ensuring your Vanilla Buttermilk Cake remains light and fluffy.
Testing for Doneness
A toothpick inserted into the center of the cake should come out clean or with a few moist crumbs for perfect doneness. This technique helps ensure your Vanilla Buttermilk Cake is baked through without becoming dry.
Serving and Presentation Ideas:
Present your Vanilla Buttermilk Cake with a drizzle of cream cheese glaze for a delightful finish. Consider garnishing with fresh berries or mint leaves for a pop of color. Pairing with a scoop of vanilla ice cream enhances the dessert experience, making it extra special for guests.
People Also Ask:
What does cream cheese do to pound cake?
Cream cheese adds moisture and richness to pound cake, resulting in a denser and more flavorful texture. This contributes to a delightful eating experience in your Vanilla Buttermilk Cake.
What does buttermilk do to your cake?
Buttermilk acts as a tenderizer, resulting in a moist and soft cake. Its acidity helps to activate baking soda, providing additional lift to the Vanilla Buttermilk Cake.
Do you glaze a pound cake hot or cold?
Glazing a pound cake while it is still warm allows the glaze to soak slightly into the cake, enhancing flavor. For the best results, apply the glaze to your Vanilla Buttermilk Cake shortly after removing it from the oven.
What is the difference between pound cake and vanilla cake?
Pound cake is traditionally made with equal parts butter, sugar, eggs, and flour, resulting in a denser texture. In contrast, vanilla cake typically incorporates a lighter batter and often uses chemical leaveners, yielding a fluffier cake than Vanilla Buttermilk Cake.
FAQ
Can I use a different type of flour for Vanilla Buttermilk Cake?
You can use cake flour for a lighter texture, but ensure to adjust the measurements accordingly for the best results in your Vanilla Buttermilk Cake.
Can I substitute buttermilk in Vanilla Buttermilk Cake?
Yes, you can substitute buttermilk with a mixture of milk and vinegar or lemon juice for a similar effect in your Vanilla Buttermilk Cake.
How should I store leftover Vanilla Buttermilk Cake?
Store leftovers in an airtight container at room temperature for up to three days. You can also refrigerate for longer freshness, keeping your Vanilla Buttermilk Cake delicious.
Can I freeze Vanilla Buttermilk Cake?
Yes, you can freeze the cake. Wrap it tightly in plastic wrap and foil before placing it in the freezer to maintain its quality when thawed.
Conclusion
Baking a Vanilla Buttermilk Cake is not just about creating a dessert; it’s about sharing a moment of joy and warmth with loved ones. This delightful cake emits comforting aromas and tastes that bring people together. Sharing your creation with friends or family can create lasting memories. Have you tried adding your personal touch or variations to your own Vanilla Buttermilk Cake? Feel free to share your experiences or thoughts on this lovely recipe!


Ingredients
Method
- Step 1: Preheat the Oven
- Begin by preheating your oven to 350°F (175°C). This step is crucial as a properly heated oven ensures an even baking environment, allowing your Vanilla Buttermilk Cake to rise beautifully. Take a moment to enjoy the anticipation of the delicious aroma that will soon fill your kitchen!
- Step 2: Prepare Your Baking Pan
- Grab your loaf pan and generously butter it or line it with parchment paper. This will help the cake slip right out once it’s baked, avoiding any sticky situations. A well-prepared pan is essential for the success of your Vanilla Buttermilk Cake, so don’t skip this step!
- Step 3: Mix Dry Ingredients
- In a medium bowl, whisk together the flour, baking powder, and salt. This step is important because it ensures that the leavening agents are evenly distributed, providing that lovely rise to your cake. Take a moment to admire the simple beauty of these ingredients coming together.
- Step 4: Cream the Butter and Sugar
- In a large mixing bowl, beat the softened butter and sugar until they are light and fluffy. This process introduces air into the mixture, which helps create a tender crumb in your Vanilla Buttermilk Cake. The creamy texture combined with the sweet scent will invigorate your senses!
- Step 5: Add Eggs and Vanilla
- Add in the eggs one at a time, beating well after each addition. Incorporate the vanilla extract during this step, allowing its rich flavor to blend seamlessly into the batter. You will notice the mixture taking on a beautiful color and texture, hinting at the delicious cake to come.
- Step 6: Combine Wet and Dry Ingredients
- Gradually add the dry mixture into the wet ingredients, alternating with the buttermilk. Start and end with the dry ingredients to maintain a balanced mixture. Stir gently until just combined—overmixing can lead to a dense cake, and we want that lightness to shine through!
- Step 7: Pour Batter into Pan
- Carefully pour the batter into the prepared loaf pan, smoothing the top to ensure an even rise. Step back and appreciate your handiwork; a perfectly filled pan is the first impression of your soon-to-be masterpiece!
- Step 8: Bake the Cake
- Place the loaf pan in the preheated oven and bake for 50-60 minutes, or until a toothpick comes out clean. Remember, each oven is unique, so keep an eye on your cake. The golden-brown top will be your guide to achieving the perfect bake!
- Step 9: Let it Cool
- Once baked, remove the cake from the oven and let it cool in the pan for about 10 minutes. Then, turn it out onto a wire rack to cool completely. This step is crucial as it helps maintain moisture in the Vanilla Buttermilk Cake.
- Step 10: Prepare the Cream Cheese Glaze
- While your cake cools, whisk together cream cheese, powdered sugar, vanilla, and some milk until smooth. This luscious glaze will add a wonderful richness, perfectly complementing the flavor of your cake. The excitement of pouring the glaze over the cake is just around the corner!
- Step 11: Glaze the Cake
- Once the cake has cooled completely, drizzle the cream cheese glaze generously over the top. Allow it to cascade down the sides for that enticing visual effect. Indulge your senses as the aroma and presentation elevate this dessert to a showstopper!
- Step 12: Slice and Serve
- Slice the cake into thick, delectable pieces and serve it to delighted friends and family. You’ll see their faces light up with joy at the first bite of your Vanilla Buttermilk Cake. Enjoy the sweet victory of baking!