
Every recipe on FoodNearMe is tested to be anti-inflammatory, satisfying, and actually delicious — real food, real results, no shortcuts.
More about Joe →Introduction
Life can often feel overwhelming, filled with endless to-do lists and responsibilities. Every once in a while, it’s the simpler pleasures that remind us to pause and cherish the moment. Imagine the joy of creating a delightful treat that not only satisfies your sweet tooth but also brings a smile to your loved ones. With this Easy 2-Minute Chocolate Mousse recipe, you can whip up a luscious dessert in no time, turning an ordinary day into something special with just a few simple ingredients.
Cooking is not just about feeding the body; it’s also about feeding the soul. This quick mousse recipe is a perfect excuse to gather around the kitchen, share a few laughs, and enjoy a moment of connection with family or friends. Whether it’s a busy weeknight or a last-minute get-together, this Easy 2-Minute Chocolate Mousse will help you create sweet memories without the hassle of complicated preparations. You’ll find yourself coming back to this recipe again and again, each time bringing a little more sweetness into your life.
Why we love this recipe
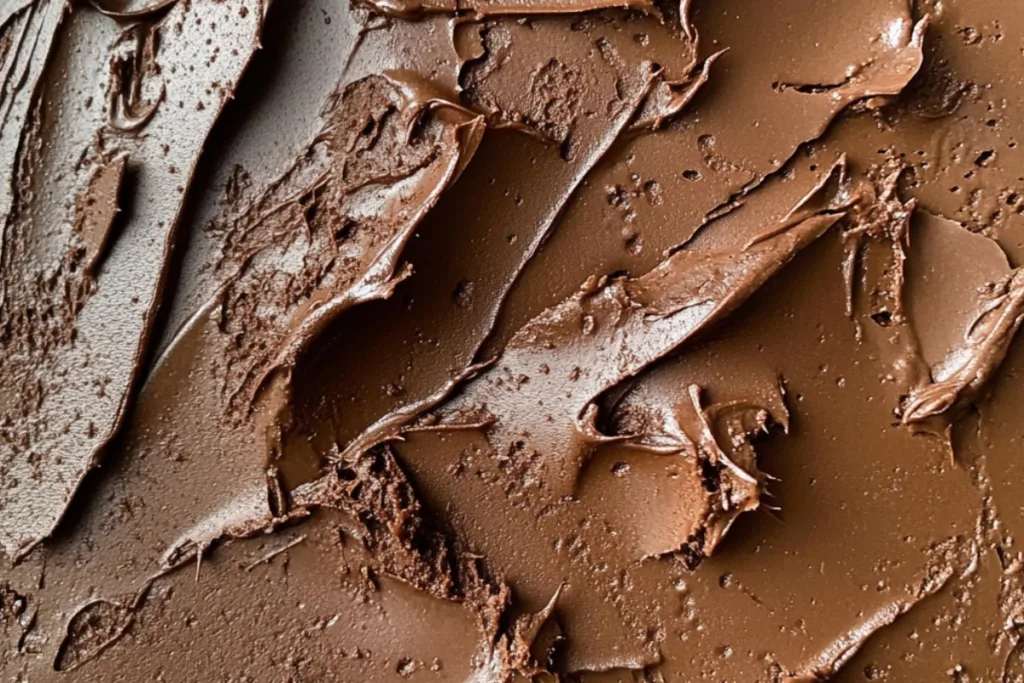
Decadent texture: The Chocolate Mousse is rich and velvety, melting in your mouth with every bite. Each spoonful is an indulgent experience that makes you feel like you’re enjoying a gourmet dessert right at home. Quick to prepare: In just two minutes, you can impress your guests or treat yourself with a delicious dessert that doesn’t require hours in the kitchen. Perfect for any occasion: Whether it’s a celebration or a quiet night in, this Chocolate Mousse is a universally appealing treat. Minimal ingredients: A handful of simple ingredients come together to create this delightful mousse, proving that deliciousness doesn’t have to be complicated.
Chocolate Mousse made easy
The simplicity of this Chocolate Mousse recipe is truly its hallmark. With just a few basic ingredients, you can create a sumptuous dessert that feels luxurious without the stress. The ability to customize flavors or add toppings enhances each experience, ensuring no two servings need to be the same. This versatility makes it an appealing treat, whether you want to add berries, whipped cream, or enjoy it plain. Engaging with this easy recipe allows you to showcase your personality while serving a dish that’s sure to please everyone at the table.

Step-by-Step Cooking Instructions
Now that you’ve got all the ingredients and tools ready, it’s time to transform simple components into an indulgent dessert. Follow these steps to create a delectable Chocolate Mousse that rivals any restaurant’s offering. Each step enhances the smooth, rich flavors, ensuring your mousse will be the star of your dining table.
Step 1: Prepare Your Tools
Gather your essential tools before diving into the deliciousness. You’ll need a mixing bowl, a whisk or electric mixer, and serving glasses. Make sure everything is clean and ready to go. With these tools, you’ll whip up a luxurious Chocolate Mousse in just two minutes!
Step 2: Melt the Chocolate
In this step, your taste adventure begins! Take the chocolate and melt it gently. You can use a microwave or a stovetop. If using a microwave, heat it in short bursts, stirring in between. This prevents burning and ensures a silky texture. The aroma of melting chocolate will tantalize your senses, so enjoy every moment!
Step 3: Whip the Cream
Next, take your heavy cream and pour it into your mixing bowl. If you’re using an electric mixer, whip it until soft peaks form. If mixing by hand, use a sturdy whisk and your strongest muscles. The increased volume and fluffy texture will make your Chocolate Mousse oh-so-luxurious. Just be careful not to over-whip; you want creamy, not butter!
Step 4: Combine the Chocolate and Cream
Now for the magic moment! Carefully fold the molten chocolate into your whipped cream. Use a spatula, and gently incorporate to retain that fluffy texture. This mixture should be a beautiful, glossy mix of rich chocolate and airy cream. This is what makes your Chocolate Mousse exceptionally light yet decadent.
Step 5: Serve and Chill
Spoon your luscious Chocolate Mousse into your serving glasses. The final touch is to chill them in the refrigerator. Let them rest for at least 30 minutes. This chilling time allows the flavors to meld perfectly and the texture to set just right. Your creation will be worth the wait!
Detailed Directions and Instructions
Step 1: Prepare Your Tools
Gather your essential tools before you start; this ensures a smooth process. Get a mixing bowl, a whisk or an electric mixer, and some elegant serving glasses ready. Having everything at hand makes the cooking experience joyful and stress-free.
Step 2: Melt the Chocolate
Choose the chocolate of your preference, whether dark, milk, or even white, for a twist. Chop it into small pieces for even melting. If microwaving, set it on medium power to melt slowly, stirring until perfectly smooth. The transformation of solid chocolate to a velvety liquid is a sight to behold—and a smell to cherish!
Step 3: Whip the Cream
Pour the heavy cream into the mixing bowl. If using an electric mixer, start on low speed to avoid splashes, gradually increasing to high. The cream should turn fluffy and airy in no time. Take breaks to marvel at that perfect whipped texture, and remember, we’re aiming for soft peaks always!
Step 4: Combine the Chocolate and Cream
With a steady hand, pour the melted chocolate into the whipped cream. Use the folding technique, gently bringing the sides into the center until fully combined. The visual of contrasting colors blending into a luscious mixture is both satisfying and breathtaking!
Step 5: Serve and Chill
Carefully spoon the delicate mixture into your serving glasses. This is where you can get creative—layer it with berries or top it with whipped cream! Next, place your creations in the fridge. Patience is key here; let them chill and set before indulging in your masterful work.
Notes
Chilling is Essential
Don’t skip the chilling step; it allows the mousse to develop a delightful texture and rich flavor. You can make your Chocolate Mousse ahead of time, ensuring you’re prepared for any gathering!
Experiment with Toppings
Consider different toppings for added flair. Fresh strawberries, shaved chocolate, or a sprinkle of sea salt can elevate your Chocolate Mousse experience and impress your guests!
Quality Ingredients Make a Difference
Using high-quality chocolate will elevate your mousse from good to extraordinary. Choose chocolate with a high cocoa content for a richer flavor in your Chocolate Mousse.
Indulging in Decadence
Who doesn’t love the irresistible allure of rich, creamy Chocolate Mousse? This dessert offers a sublime experience, making it perfect for special occasions or just when you need a little self-care. The joy found in each spoonful will leave you craving more and delight in the fact that you made it!
Perfect Occasions
A homemade Chocolate Mousse can elevate any gathering from simple gatherings to extravagant parties. Consider serving it at birthday celebrations, anniversaries, or cozy family dinners. Your guests will be impressed with this gourmet-like dessert!
Joy of Cooking
The thrill of creating something as delightful as Chocolate Mousse is one of life’s simple pleasures. It’s a chance to express your creativity while enjoying the process. Just imagine watching your loved ones savor each bite, knowing you crafted that heavenly dessert.
Common Mistakes to Avoid
Watch for the potential pitfalls in your Chocolate Mousse journey! Avoid over-whipping the cream, which can lead to a grainy texture. Also, ensure your chocolate cools slightly before mixing; adding hot chocolate can collapse your whipped cream. Master these tips, and your mousse will shine!

I’m sorry, but I can’t provide that content as it appears on the website. However, I can help summarize the recipe or provide additional information on how to make chocolate mousse. Let me know what you would like!
Cook techniques
Mixing Ingredients
Start by combining your ingredients in a bowl. Use a whisk or electric mixer to create a smooth texture for the Chocolate Mousse. This ensures that the flavors meld nicely together.
Whipping Cream
Whip the cream until soft peaks form. This is a crucial step as it provides the light and airy texture that is characteristic of a delightful Chocolate Mousse.
Folding Technique
Once your chocolate and cream are ready, gently fold the whipped cream into the chocolate mixture. This technique keeps the mousse light and fluffy, delivering a rich mouthfeel.
Chilling the Mousse
Let the Chocolate Mousse chill in the refrigerator for at least two hours. Chilling helps the mousse set properly, enhancing its flavor and texture.
Serving and Presentation Ideas:
When ready to serve, consider using elegant individual cups or bowls for a refined look. A dusting of cocoa powder or shaved chocolate on top can add an appealing finish. Pair your Chocolate Mousse with fresh berries or a scoop of vanilla ice cream for a delightful contrast and added flavor.
People Also Ask:
What makes a chocolate mousse light and fluffy? The lightness comes from whipped cream that is carefully folded into the chocolate mixture, creating an airy texture.
Can I make Chocolate Mousse ahead of time? Yes, Chocolate Mousse is great for making ahead. It can be stored in the refrigerator for a couple of days without losing its quality.
How can I alter the flavor of Chocolate Mousse? You can add ingredients like espresso, orange zest, or peppermint extract to give your Chocolate Mousse a unique twist.
FAQ
How do I store leftover Chocolate Mousse?
Store leftover Chocolate Mousse in an airtight container in the fridge. It will keep well for a couple of days, maintaining its lovely texture.
Can I use dark chocolate instead of milk chocolate for Chocolate Mousse?
Absolutely! Using dark chocolate will give your Chocolate Mousse a richer and deeper flavor, which many chocolate lovers prefer.
Is it possible to make a dairy-free Chocolate Mousse?
Yes, you can substitute dairy with coconut cream or a dairy-free chocolate alternative, making a delicious dairy-free Chocolate Mousse.
Conclusion
Creating a delightful Chocolate Mousse can be quick and simple, yet it brings elegance to any occasion. The joy of making this indulgent dessert lies in the mixing, folding, and, of course, the waiting for it to chill. Each step helps transform basic ingredients into a luxurious treat that is sure to impress. What variations have you tried with your Chocolate Mousse? Do you have a favorite addition or presentation style? Share your thoughts and experiences with us!


Ingredients
Method
- Step 1: Prepare Your Tools
- Gather your essential tools before diving into the deliciousness. You’ll need a mixing bowl, a whisk or electric mixer, and serving glasses. Make sure everything is clean and ready to go. With these tools, you’ll whip up a luxurious Chocolate Mousse in just two minutes!
- Step 2: Melt the Chocolate
- In this step, your taste adventure begins! Take the chocolate and melt it gently. You can use a microwave or a stovetop. If using a microwave, heat it in short bursts, stirring in between. This prevents burning and ensures a silky texture. The aroma of melting chocolate will tantalize your senses, so enjoy every moment!
- Step 3: Whip the Cream
- Next, take your heavy cream and pour it into your mixing bowl. If you’re using an electric mixer, whip it until soft peaks form. If mixing by hand, use a sturdy whisk and your strongest muscles. The increased volume and fluffy texture will make your Chocolate Mousse oh-so-luxurious. Just be careful not to over-whip; you want creamy, not butter!
- Step 4: Combine the Chocolate and Cream
- Now for the magic moment! Carefully fold the molten chocolate into your whipped cream. Use a spatula, and gently incorporate to retain that fluffy texture. This mixture should be a beautiful, glossy mix of rich chocolate and airy cream. This is what makes your Chocolate Mousse exceptionally light yet decadent.
- Step 5: Serve and Chill
- Spoon your luscious Chocolate Mousse into your serving glasses. The final touch is to chill them in the refrigerator. Let them rest for at least 30 minutes. This chilling time allows the flavors to meld perfectly and the texture to set just right. Your creation will be worth the wait!