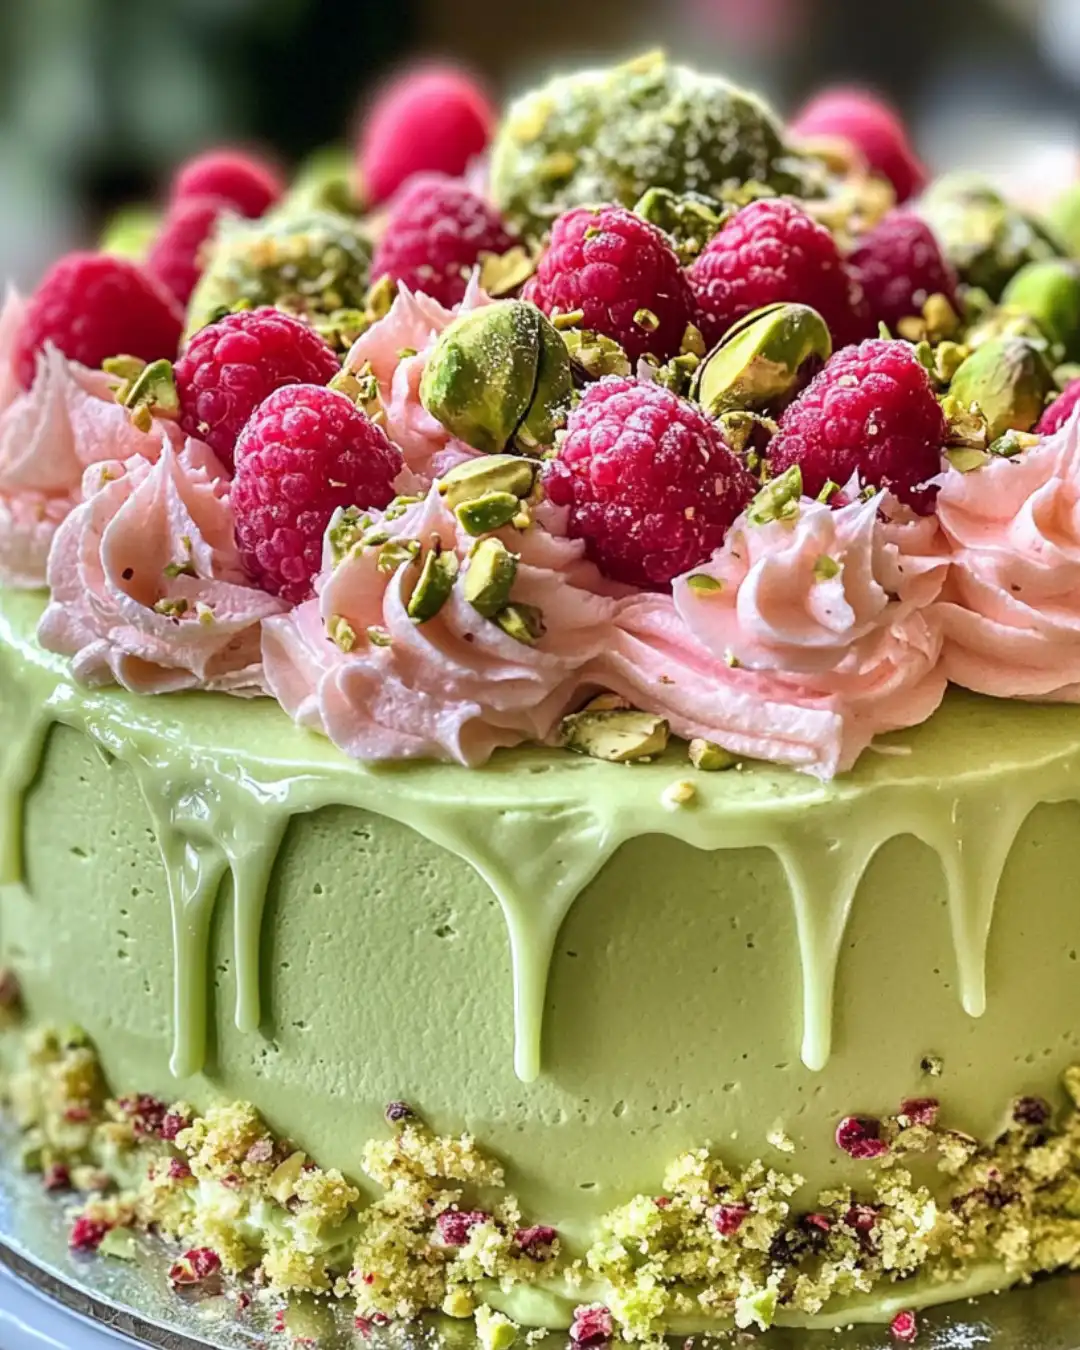
A decadent cake combining the nutty flavor of pistachios with the tart sweetness of raspberries, creating a delightful and indulgent treat in every bite.
Ingredients
Method
- Step 1: Prepare Your Baking Area
- Begin by prepping your workspace. Clean your countertop and gather all the necessary ingredients and tools. This will make your baking experience smooth and enjoyable. Don’t forget to grease your cake pans and line them with parchment paper to ensure an easy release of your Pistachio Raspberry Cake once it’s baked!
- Step 2: Mix the Dry Ingredients
- In a large mixing bowl, combine flour, baking powder, and a pinch of salt. Using a whisk, mix these dry ingredients thoroughly until they are well combined. This ensures that the baking powder is evenly distributed, which is key for an evenly risen Pistachio Raspberry Cake. Sifting can also be a fun option to add air to the flour for a lighter texture.
- Step 3: Blend the Nuts
- Take the shelled pistachios and pulse them in a food processor until finely ground. This step imparts a rich nutty flavor to your cake. Don’t over-process; you want a nice crumb rather than a paste. Set these aside, ready to incorporate into your batter for that delightful crunch.
- Step 4: Cream Butter and Sugar
- In a separate bowl, cream together softened butter and sugar with a mixer or whisk until the mixture becomes light and fluffy. This step is crucial as it incorporates air into the batter, helping your Pistachio Raspberry Cake rise beautifully. You’ll know it’s ready when it’s pale and has a creamy consistency.
- Step 5: Add Eggs and Flavorings
- Beat in the eggs one at a time, making sure each is fully incorporated before adding the next. Incorporate vanilla extract to enhance sweetness. The eggs will provide structure while keeping the cake moist. You’ll love how the aroma starts to fill your kitchen!
- Step 6: Combine Wet and Dry Mixtures
- Gradually add the dry ingredients to the wet mixture, alternating with milk. Start with the dry, then add some milk to keep the batter moist and avoid lumps. Mix until just combined. Be careful not to overmix; we want a tender crumb for the Pistachio Raspberry Cake.
- Step 7: Fold in the Ground Pistachios
- Gently fold in the ground pistachios and fresh raspberries. This is where your cake becomes a real star! The vibrant color of the raspberries adds a pop that is both inviting and exciting. Ensure they remain whole for bursts of flavor in each bite.
- Step 8: Pour and Bake
- Pour the batter evenly into your prepared cake pans. Smooth the top with a spatula for an even surface. Place them in a preheated oven and bake until golden brown and a toothpick inserted in the center comes out clean. Let the aroma fill your home – it’s going to be worth the wait!
- Step 9: Cool and Decorate
- Once baked, allow the cakes to cool in the pans for about 10 minutes before transferring them to a wire rack to cool completely. This is crucial to prevent sogginess. Once cooled, feel free to frost or simply dust with powdered sugar for an elegant finish. Your Pistachio Raspberry Cake is now ready to be the star of any gathering.