Step 1: Prepare the Baking Pans
Start by greasing three 8-inch round cake pans. Use butter or non-stick spray to ensure that your cake layers slide out effortlessly after baking. Then, line the bottoms with parchment paper to guarantee a smooth release. Every detail counts in ensuring your cake maintains its beautiful shape!
Step 2: Mix the Dry Ingredients
In a large mixing bowl, whisk together flour, baking powder, and salt. This simple step is crucial; it ensures that the leavening agents are evenly distributed throughout the flour, leading to an evenly risen cake. Feel the light texture as the flour combines with the other elements!
Step 3: Cream the Butter and Sugar
In your mixer bowl, combine softened butter and granulated sugar. Beat them together until the mixture becomes light and fluffy. The creaming process incorporates air into the batter, which will help your layers rise beautifully. Enjoy the sweet aroma wafting in the air as the sugar dissolves.
Step 4: Add Eggs and Flavor
One by one, add eggs to the creamy mixture, mixing well after each addition. This step brings richness to your batter. Follow up with the freshly grated lemon zest and a splash of vanilla extract. The zesty fragrance will elevate your spirits and make your kitchen feel like a bakery!
Step 5: Combine Dry Ingredients and Milk
Gradually add the flour mixture to the butter and sugar. Alternate this with adding buttermilk. Stir gently until just combined, making sure not to overmix. The dough should have a lovely consistency, ready to rise in the oven without being overly dense.
Step 6: Bake the Cake Layers
Divide your batter evenly among the prepared pans. Place them in the preheated oven and let them bake until they’re golden brown and a toothpick comes out clean. Keep an eye on them closely. The anticipation builds as you see the layers rise!
Step 7: Cool the Cakes
Once baked, allow the cakes to cool in their pans for about 10 minutes. Then, gently transfer them to a wire rack to cool completely. Patience is key here; cooling properly ensures the cakes hold their shape while you adorn them.
Step 8: Prepare the Strawberry Filling
While the cakes cool, it’s time to focus on the filling. In a bowl, combine fresh strawberries with sugar and lemon juice. Let them sit for a bit to create a sweet, syrupy mixture that will enhance each bite of your layered creation!
Step 9: Make the Lemon Frosting
In a separate mixing bowl, prepare your frosting by beating together butter, powdered sugar, lemon juice, and zest. Beat until you achieve a fluffy, spreadable texture. This frosting will bring the entire cake together with its creamy, tart sweetness.
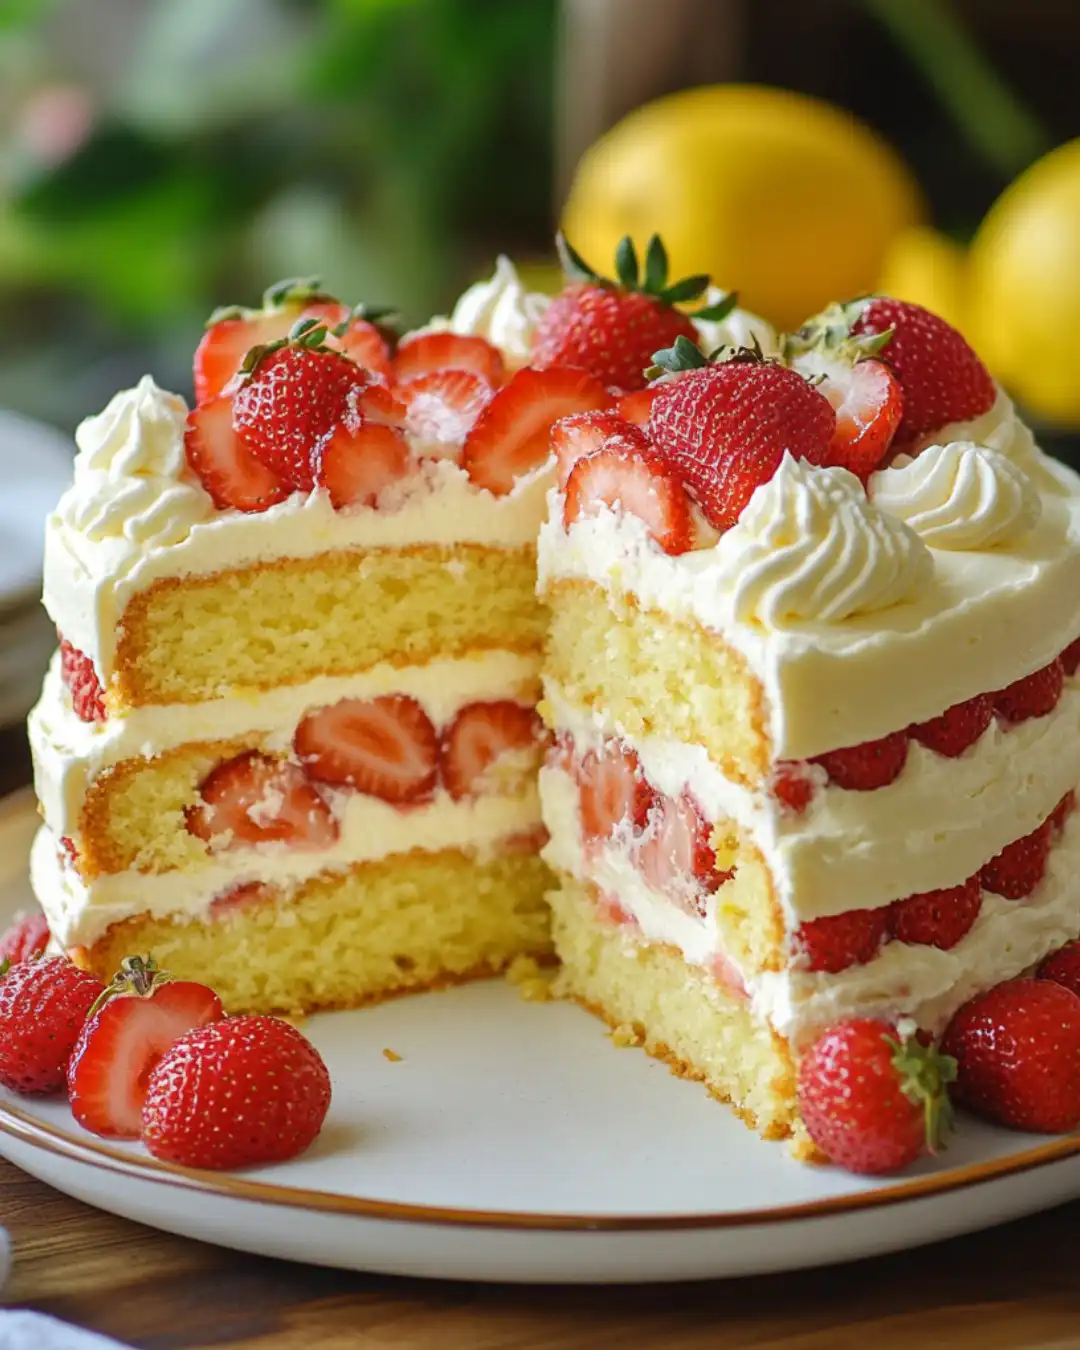
Step 10: Assemble the Cake
Once the cakes are completely cool, it’s assembly time. Place one layer on a serving plate and spread a layer of frosting followed by a spoonful of the strawberry filling. Repeat with the second layer. Top it all off with the third cake layer and cover the entire masterpiece with the lemon frosting.
Step 11: Decorate and Serve
Decorate the top with any remaining strawberries, perhaps a sprinkle of zest for a pop of color. Allow your creation to chill slightly before serving. There’s nothing quite like the moment when you cut into your beautifully layered cake, revealing the vibrant strawberries peeking through!