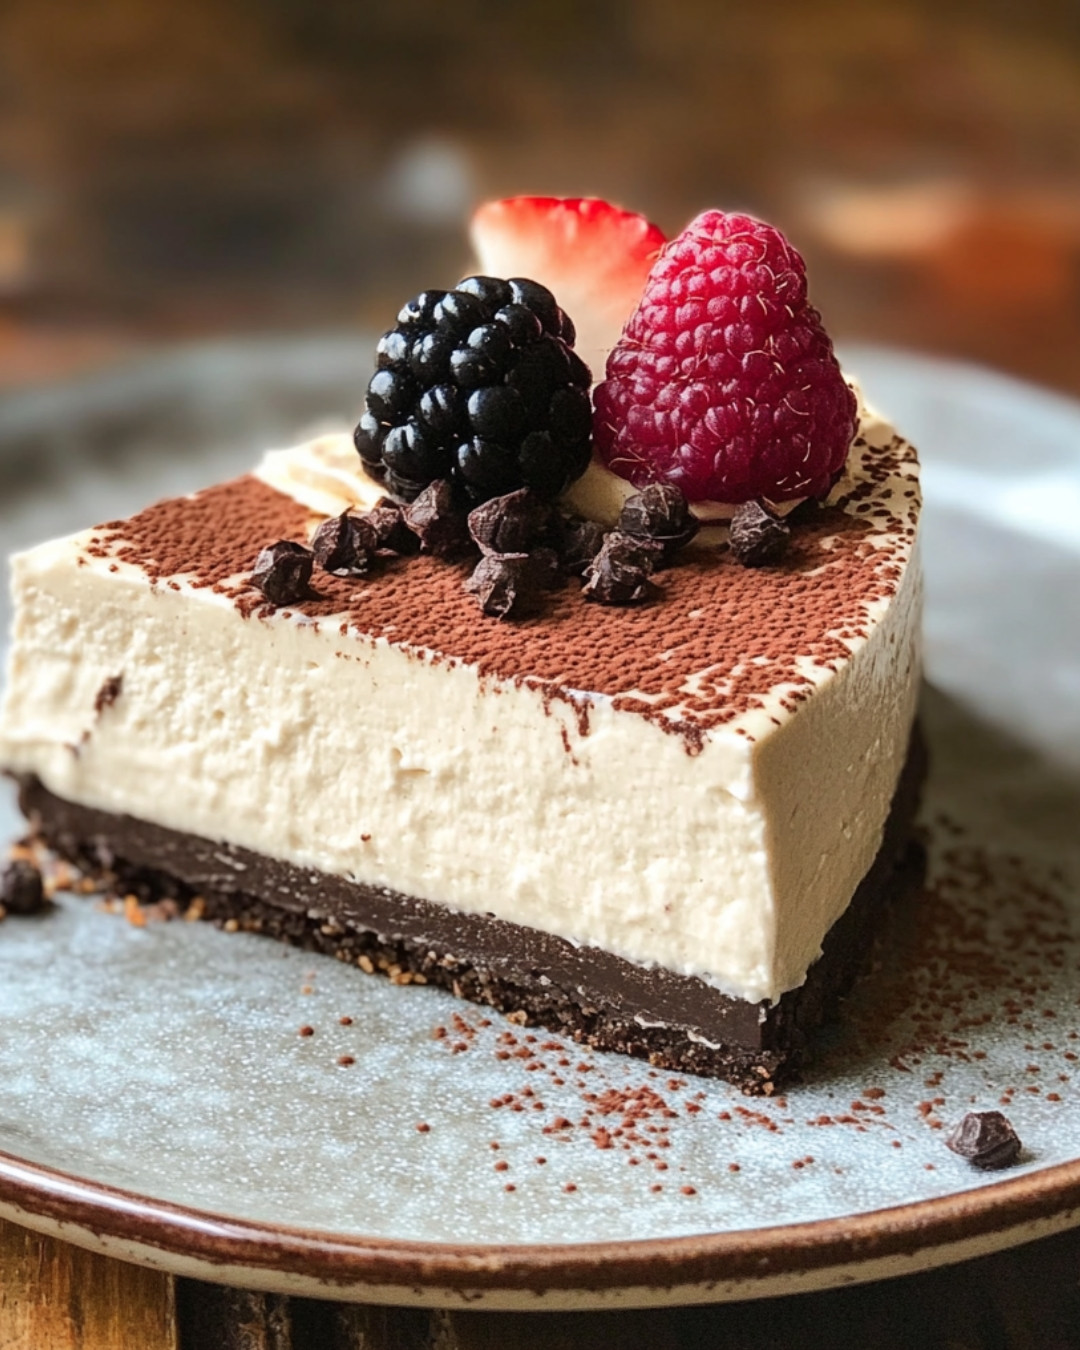
A rich, creamy cheesecake made with protein, offering a blissful balance of sweetness and indulgence while being a guilt-free treat.
Ingredients
Method
- Now that you’ve gathered all the ingredients and tools needed, it’s time to embark on a delightful culinary journey to create the most delectable Creamy Protein Cheesecake. Each step is designed to help you achieve a velvety texture and fantastic flavor. By following the instructions carefully, you’ll be able to wow your friends and family with this deliciously healthy dessert.
- Step 1: Prepare Your Baking Dish
- Start by grabbing a springform pan, which is essential for the perfect Creamy Protein Cheesecake. Lightly grease the bottom and sides with a little coconut oil or cooking spray to ensure easy release. This preparation will help you avoid any sticky situations when it’s time to unveil your cheesecake masterpiece.
- Step 2: Make the Crust
- Combine your preferred crust ingredients in a mixing bowl, choosing from options like crushed almonds, oats, or graham crackers. Mix these with melted coconut oil until the mixture resembles wet sand. Next, firmly press this crust mixture into the base of your springform pan. The key here is to pack it tightly to create a sturdy foundation for your Creamy Protein Cheesecake. Pop this crust into the refrigerator while you prepare the filling to let it set slightly.
- Step 3: Blend the Filling
- In a high-speed blender or food processor, combine the main filling ingredients: your choice of cream cheese, yogurt, and protein powder. Blend until perfectly smooth and creamy, which will be the heart of your Creamy Protein Cheesecake. Don’t forget to scrape down the sides to ensure all ingredients are fully incorporated. The blending process should create a luscious texture that’s truly irresistible.
- Step 4: Sweeten the Deal
- Now it’s time to add flavor! To the filling, incorporate your choice of sweetener, such as maple syrup or stevia, along with a splash of vanilla extract. Blend it all together once more, adjusting sweetness according to your taste. When done, you should have an incredibly creamy and delightful filling that promises to elevate your dessert to new heights.
- Step 5: Assemble and Bake
- Pour the creamy filling onto your prepared crust and smooth it out with a spatula. This is where the magic happens! Bake in a preheated oven until the edges are set but the center still jiggles slightly. This jiggle is a good sign of a perfectly baked Creamy Protein Cheesecake that will set beautifully once cooled.
- Step 6: Chill and Serve
- After baking, allow your cheesecake to cool at room temperature for a bit before transferring it to the fridge. Let it chill for at least four hours, or overnight if you can resist. Chilling enhances the flavors and sets the cheesecake to the creamy consistency you’re aiming for. When ready to serve, gently release the springform pan and slice into generous portions.